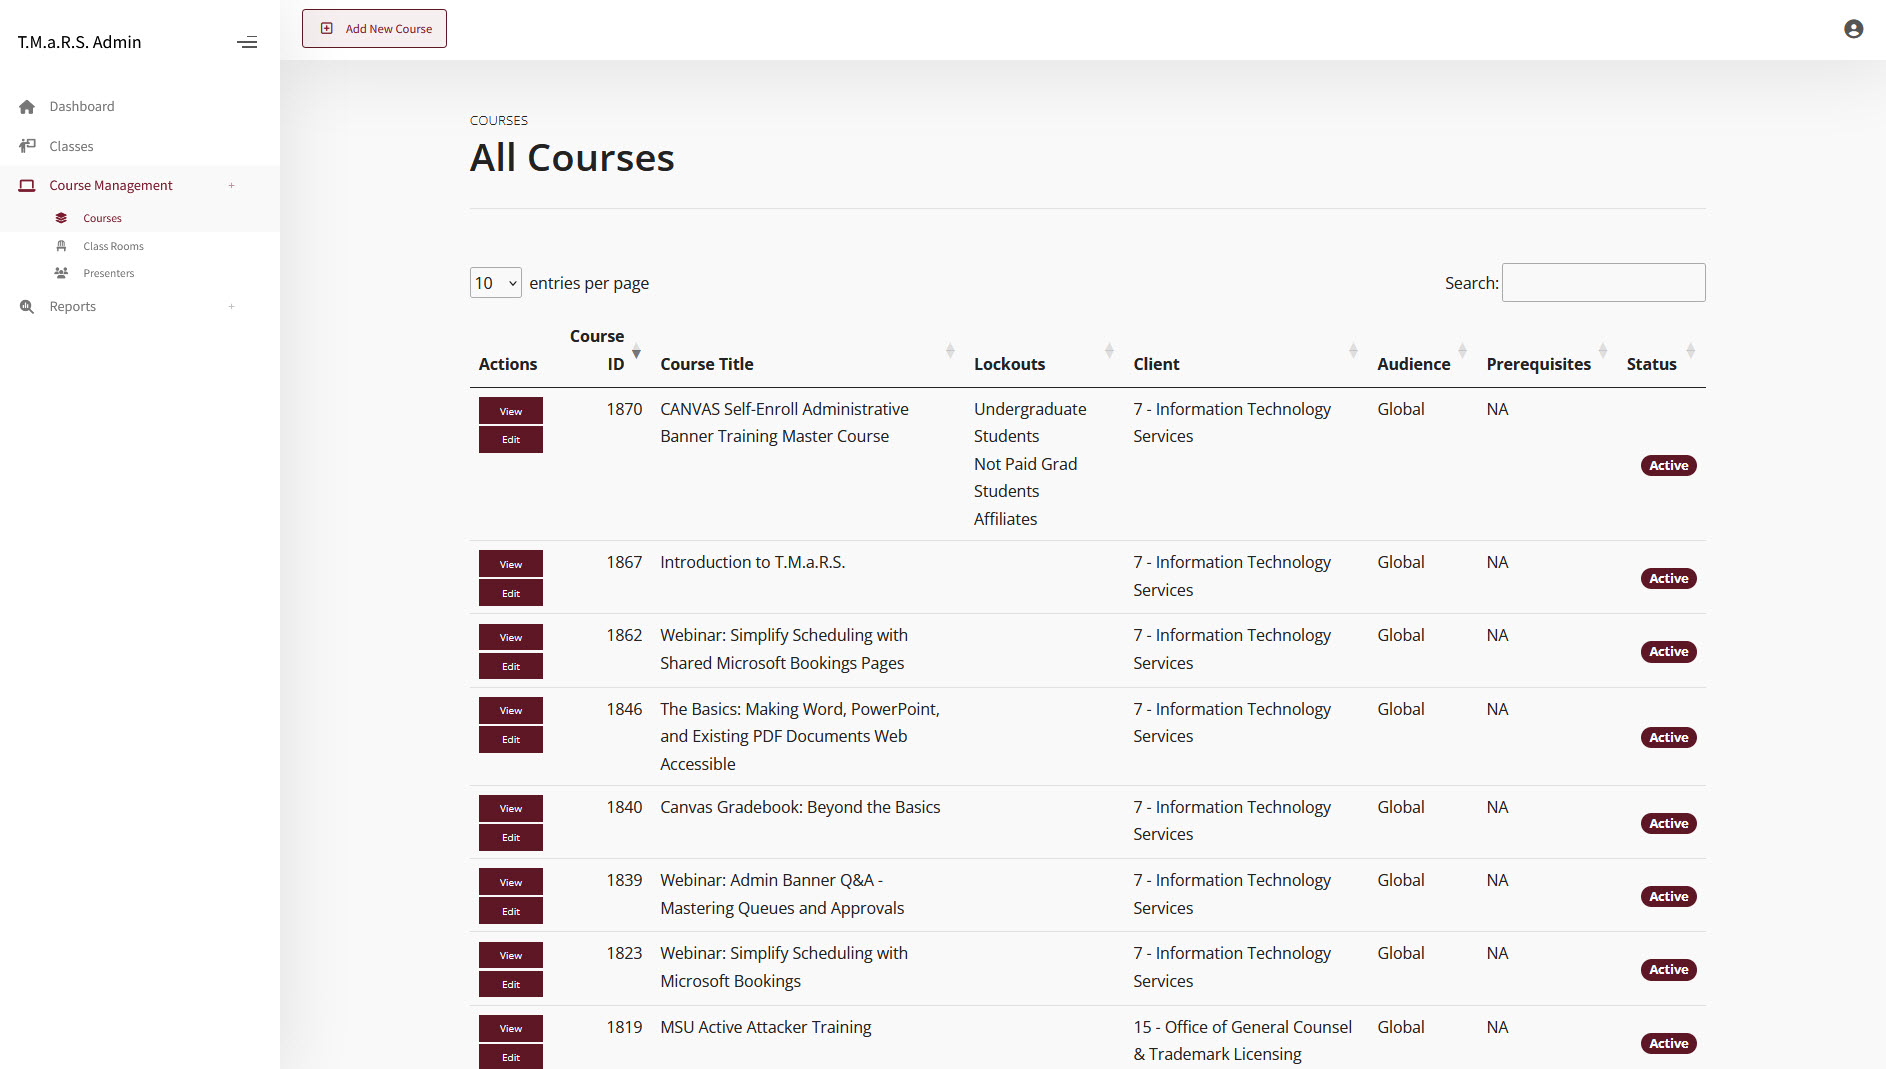
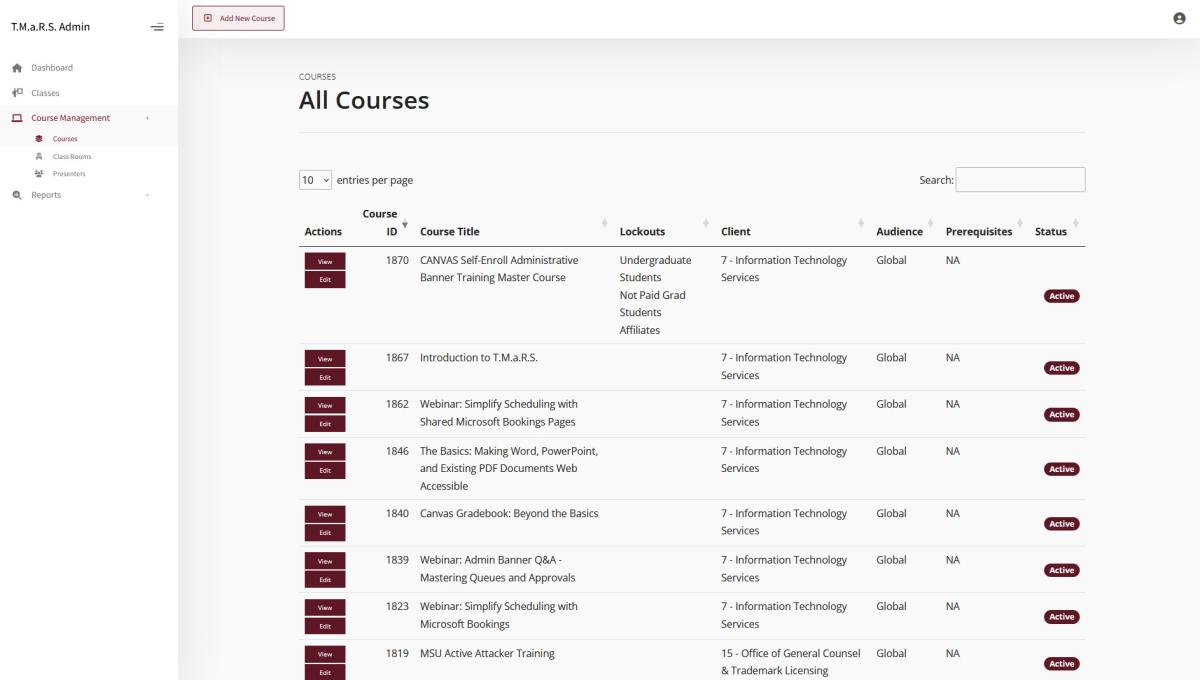
Managing Courses

All Courses

What are Courses?

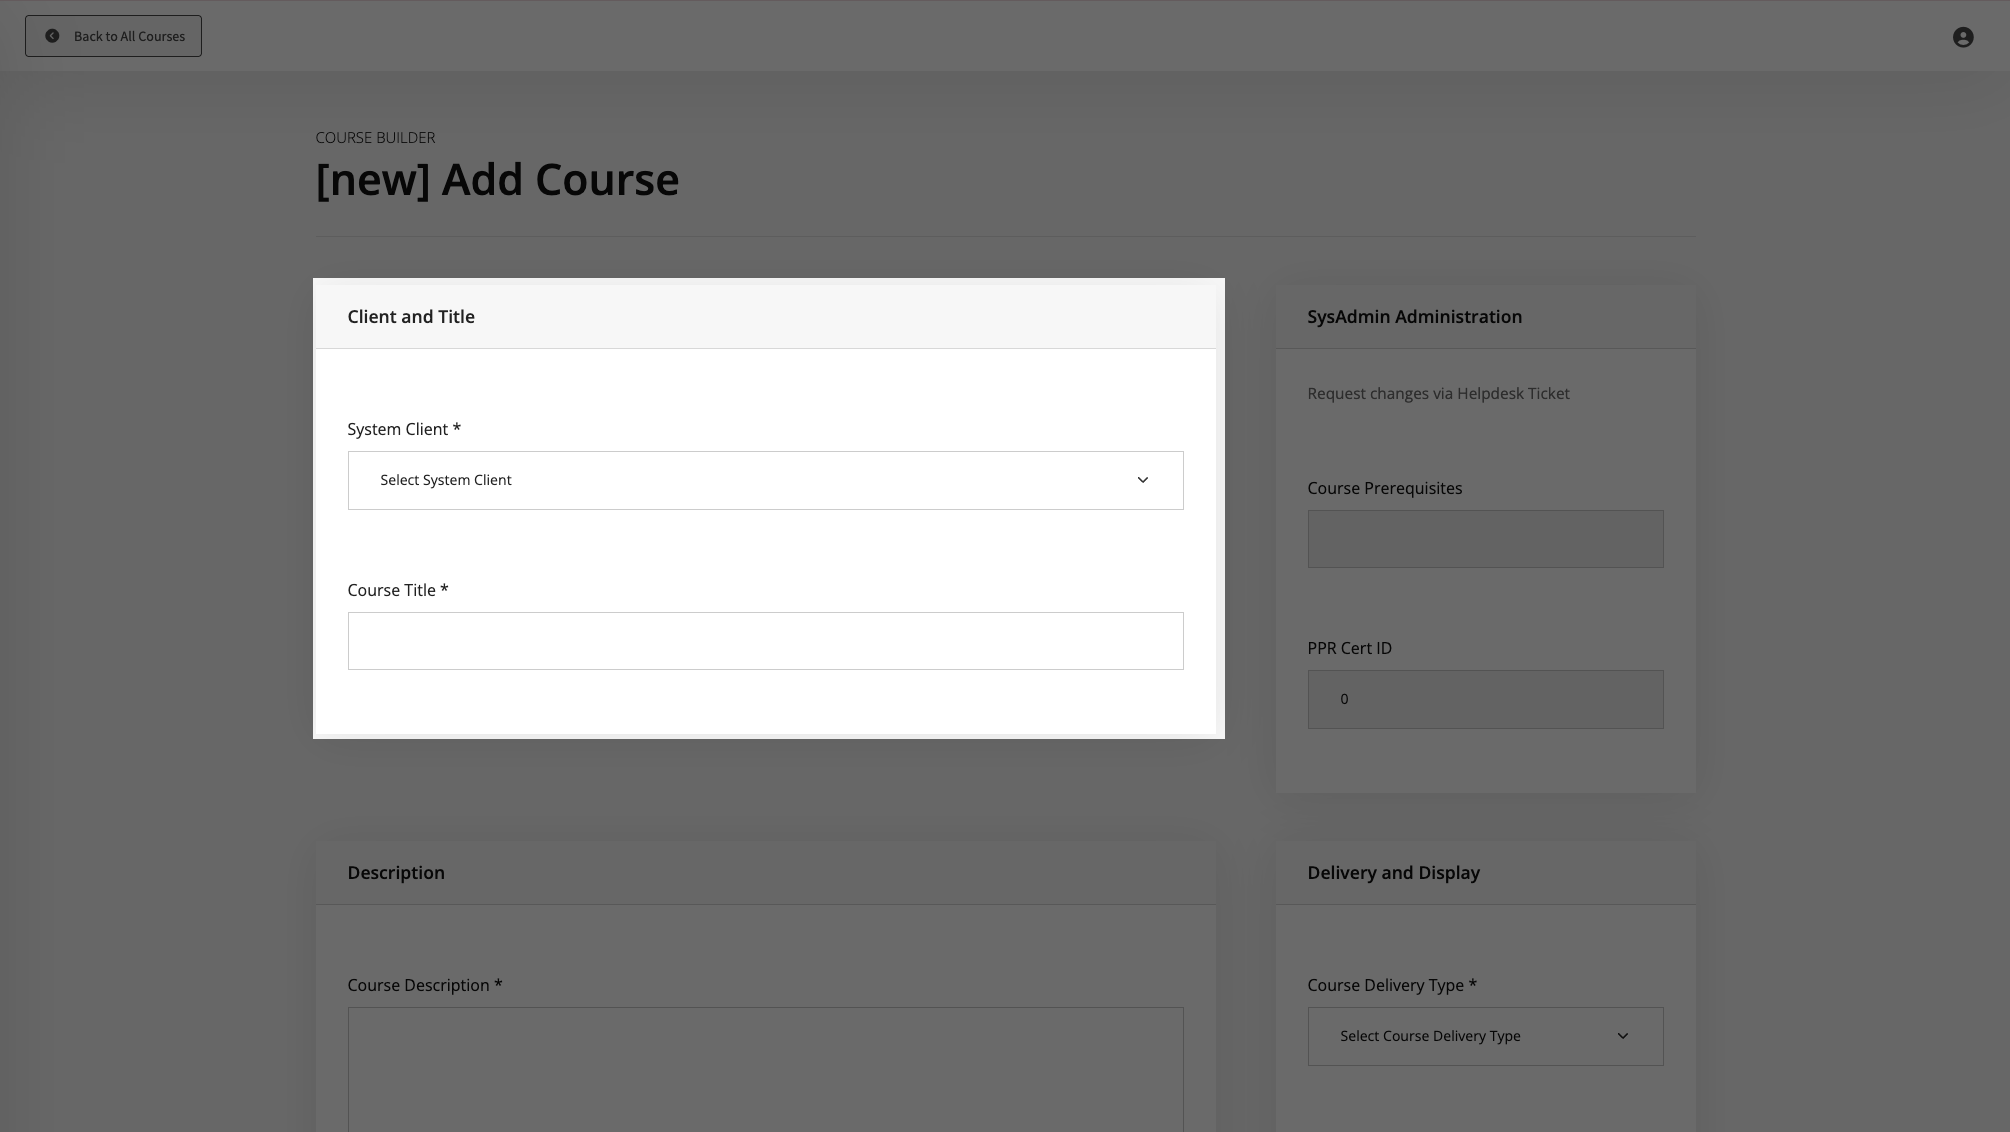
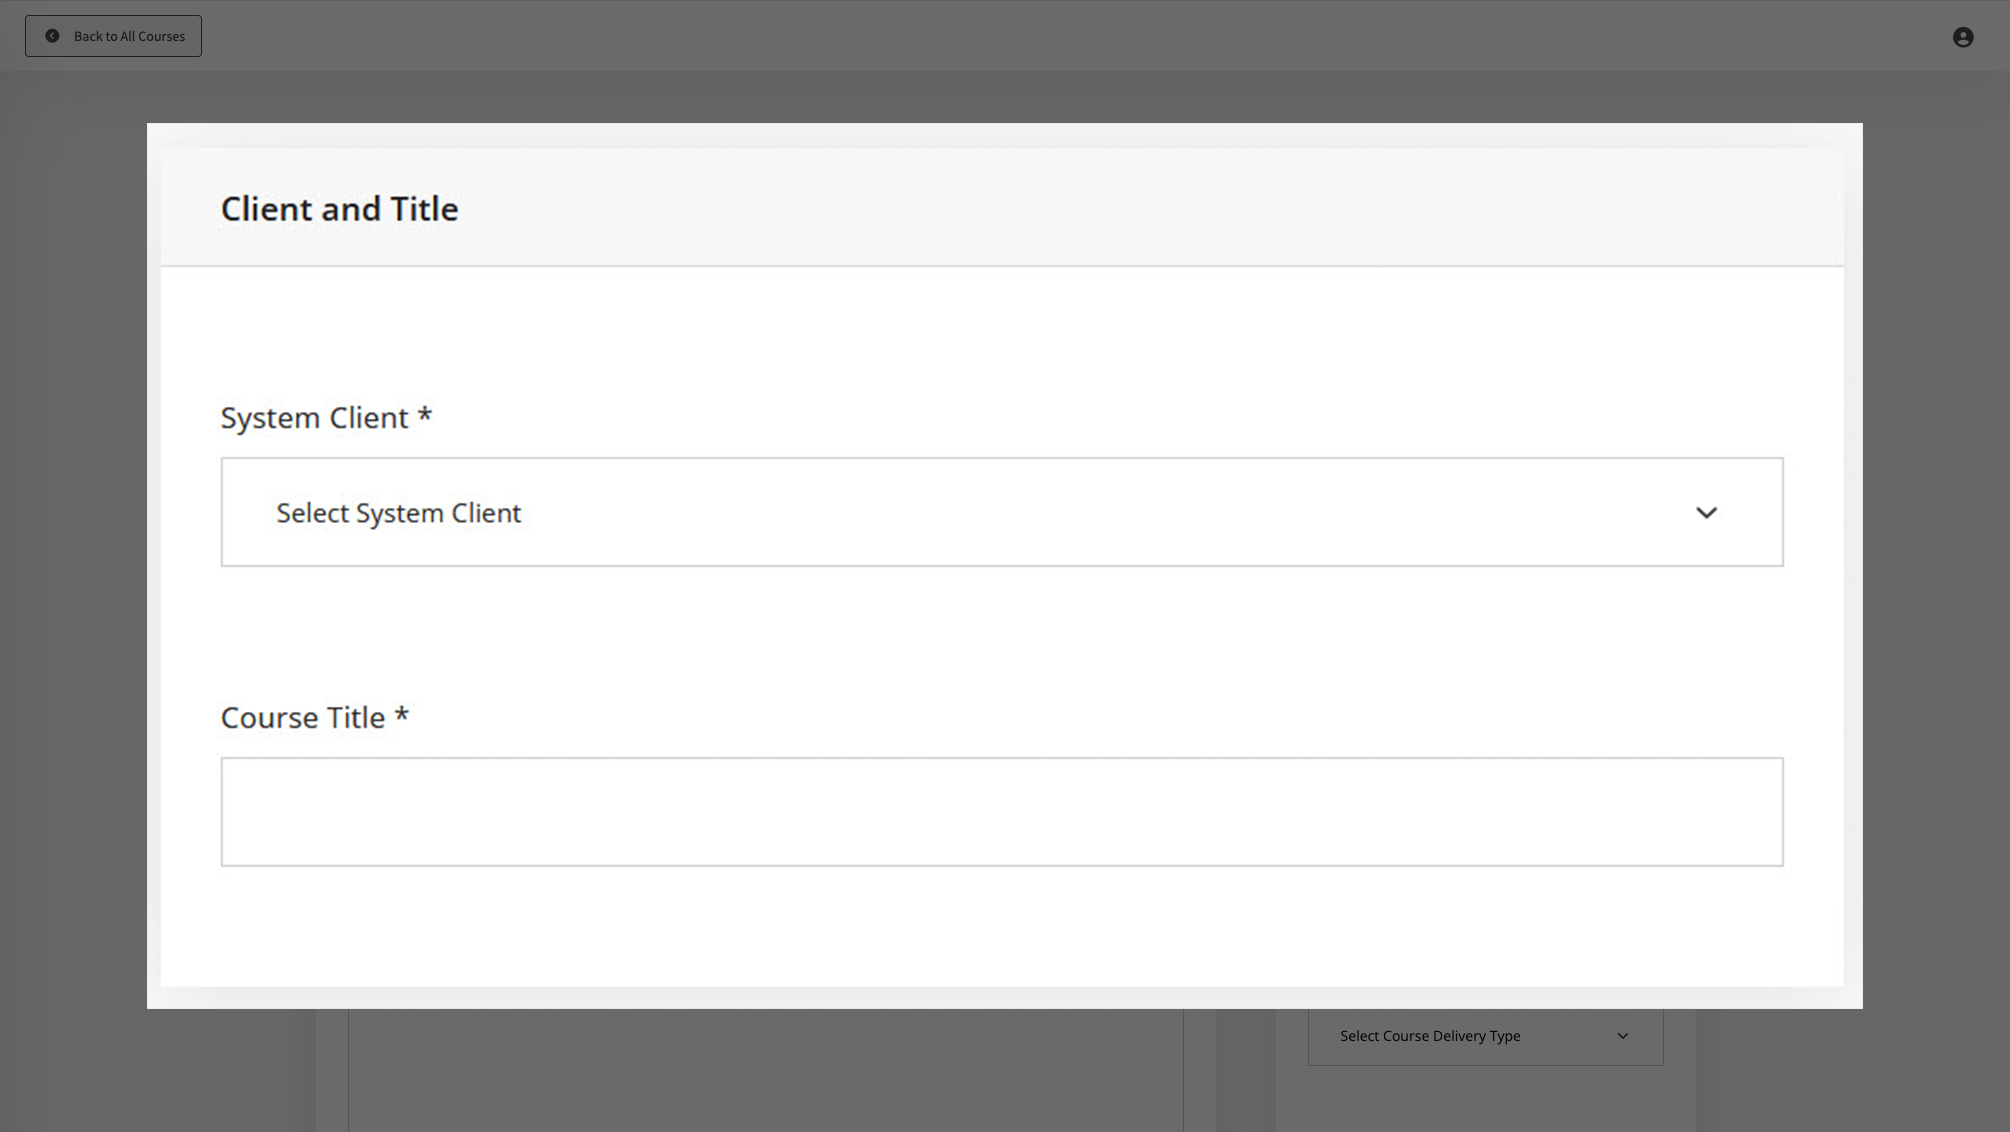
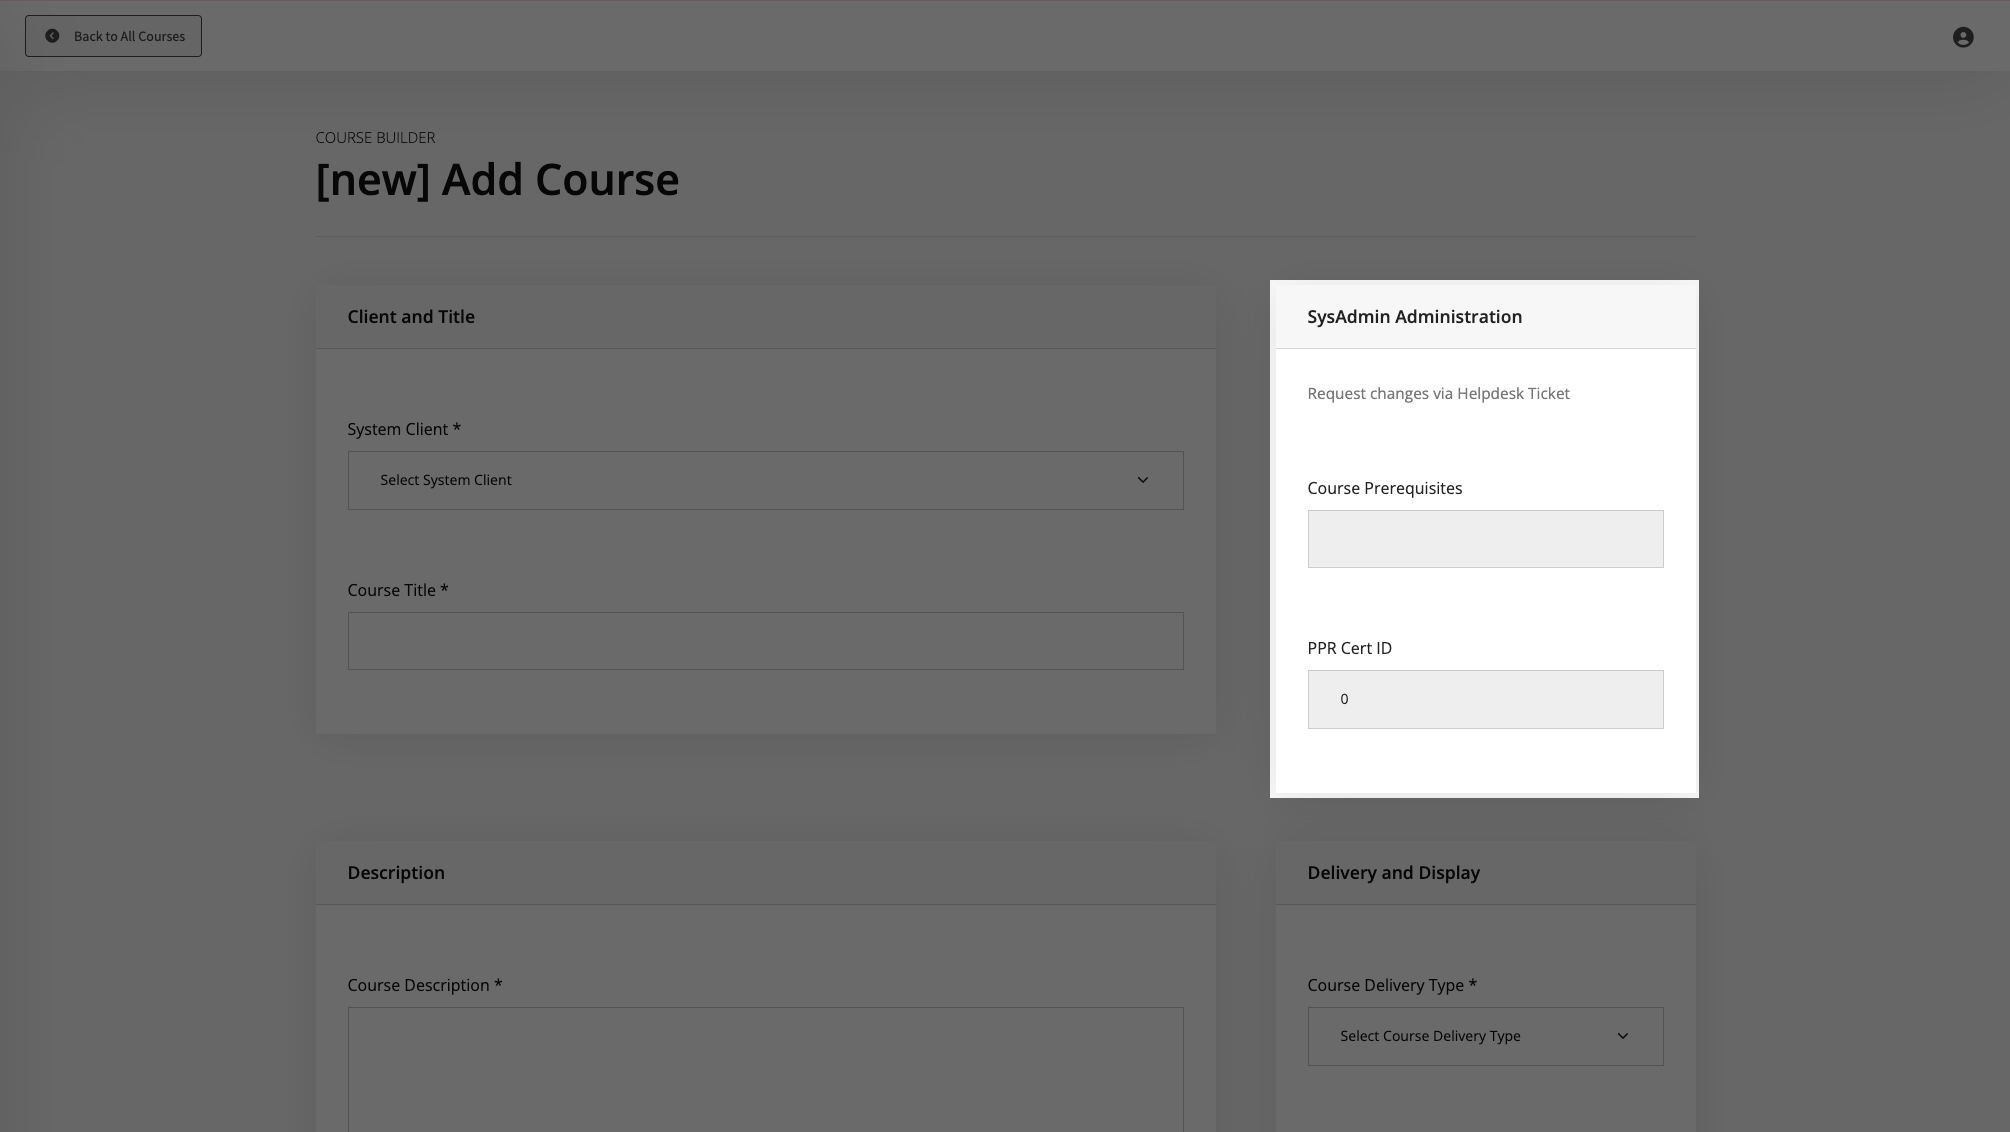
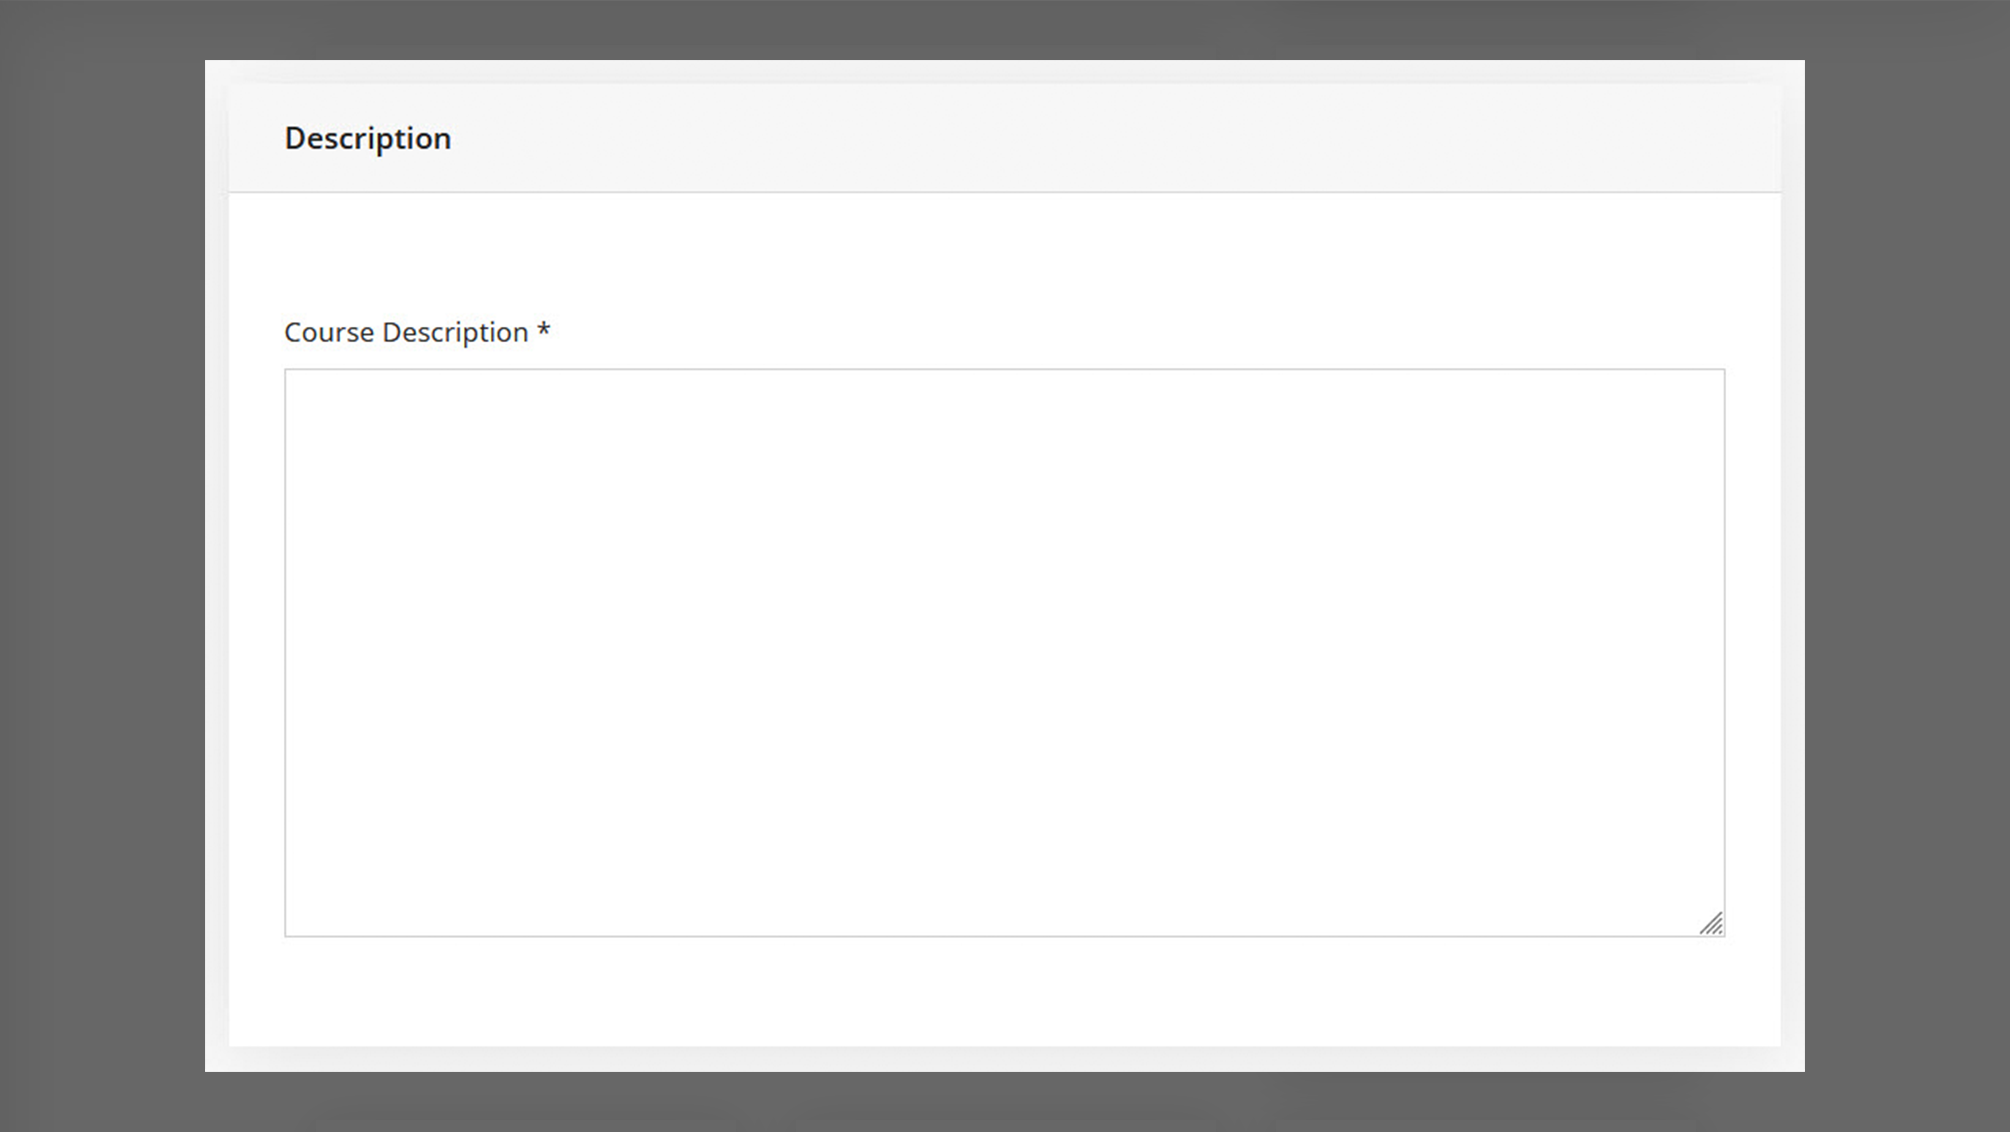
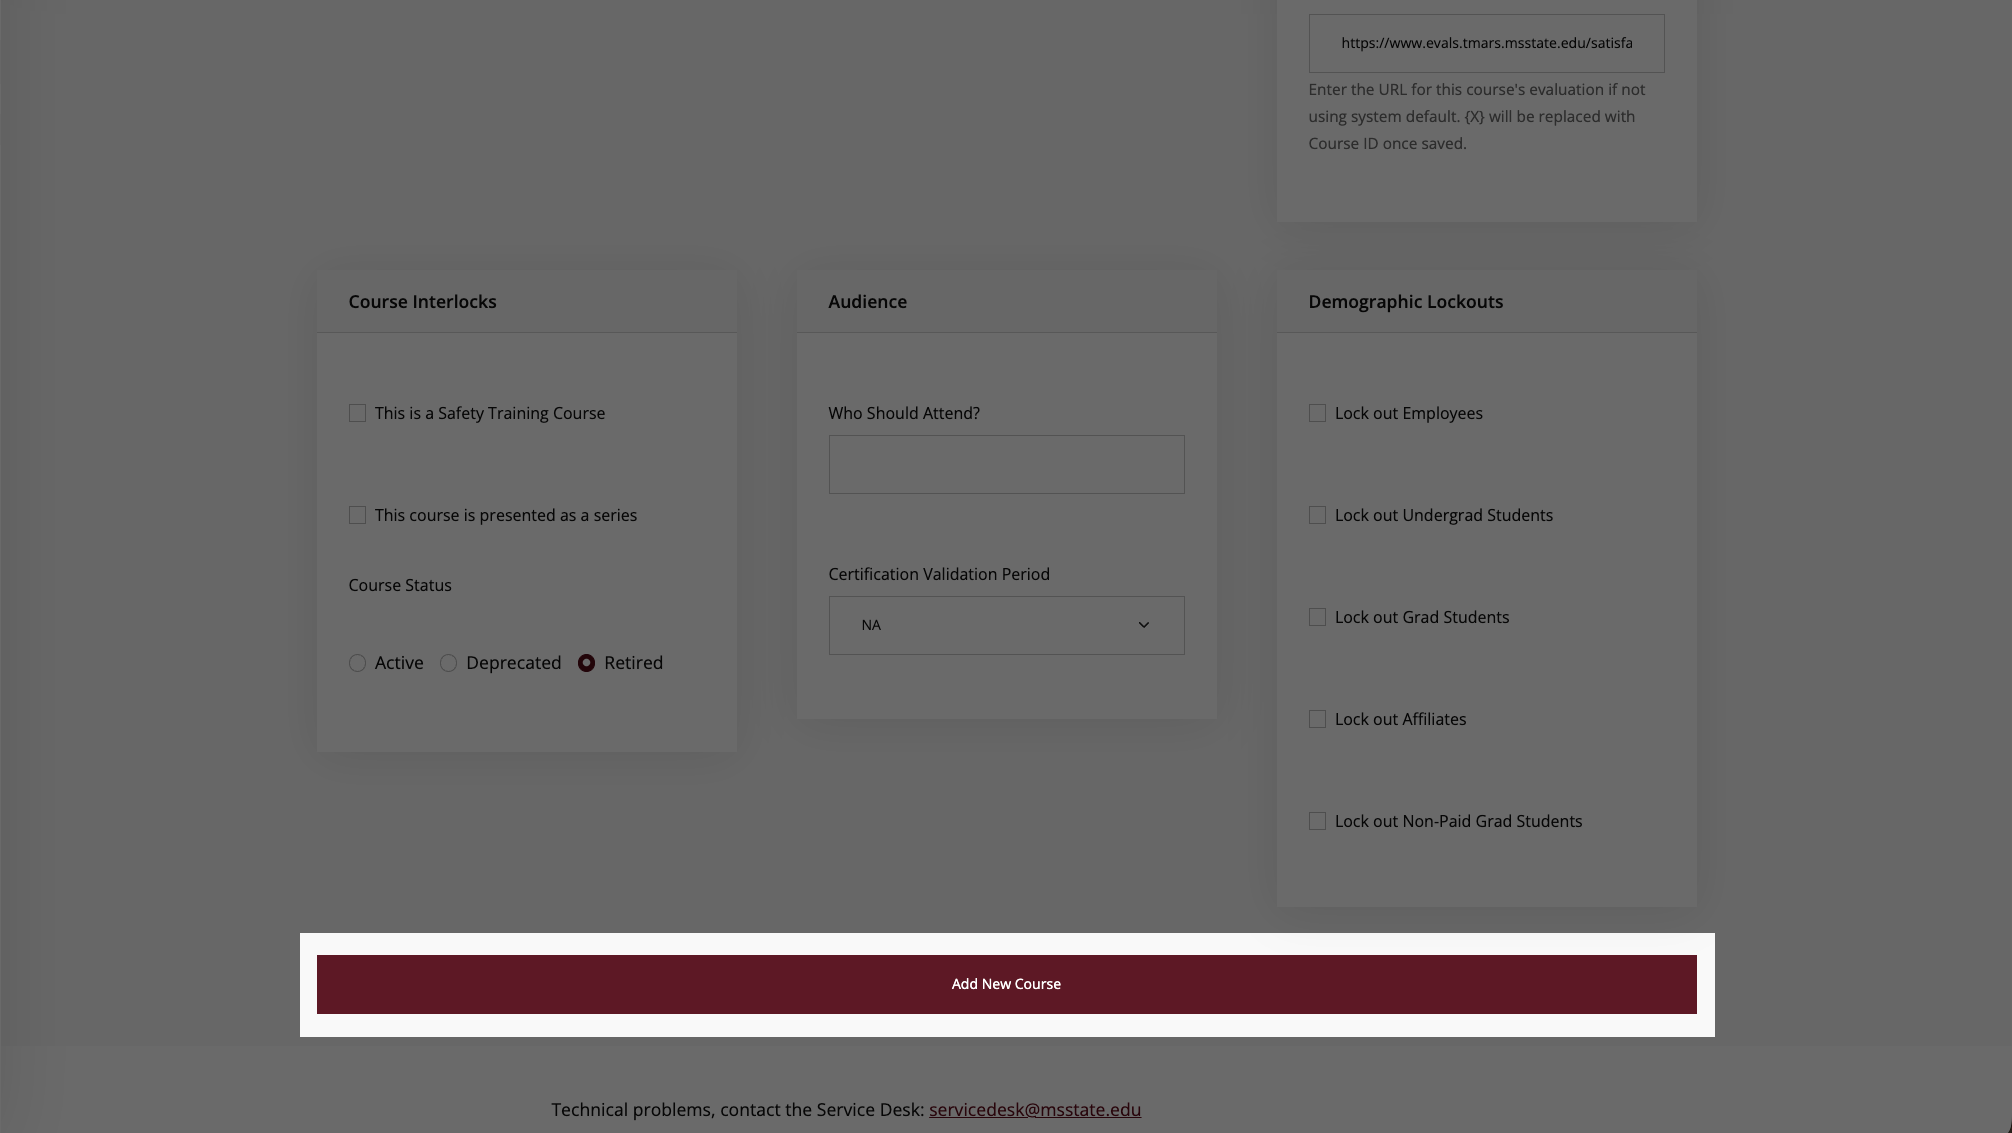
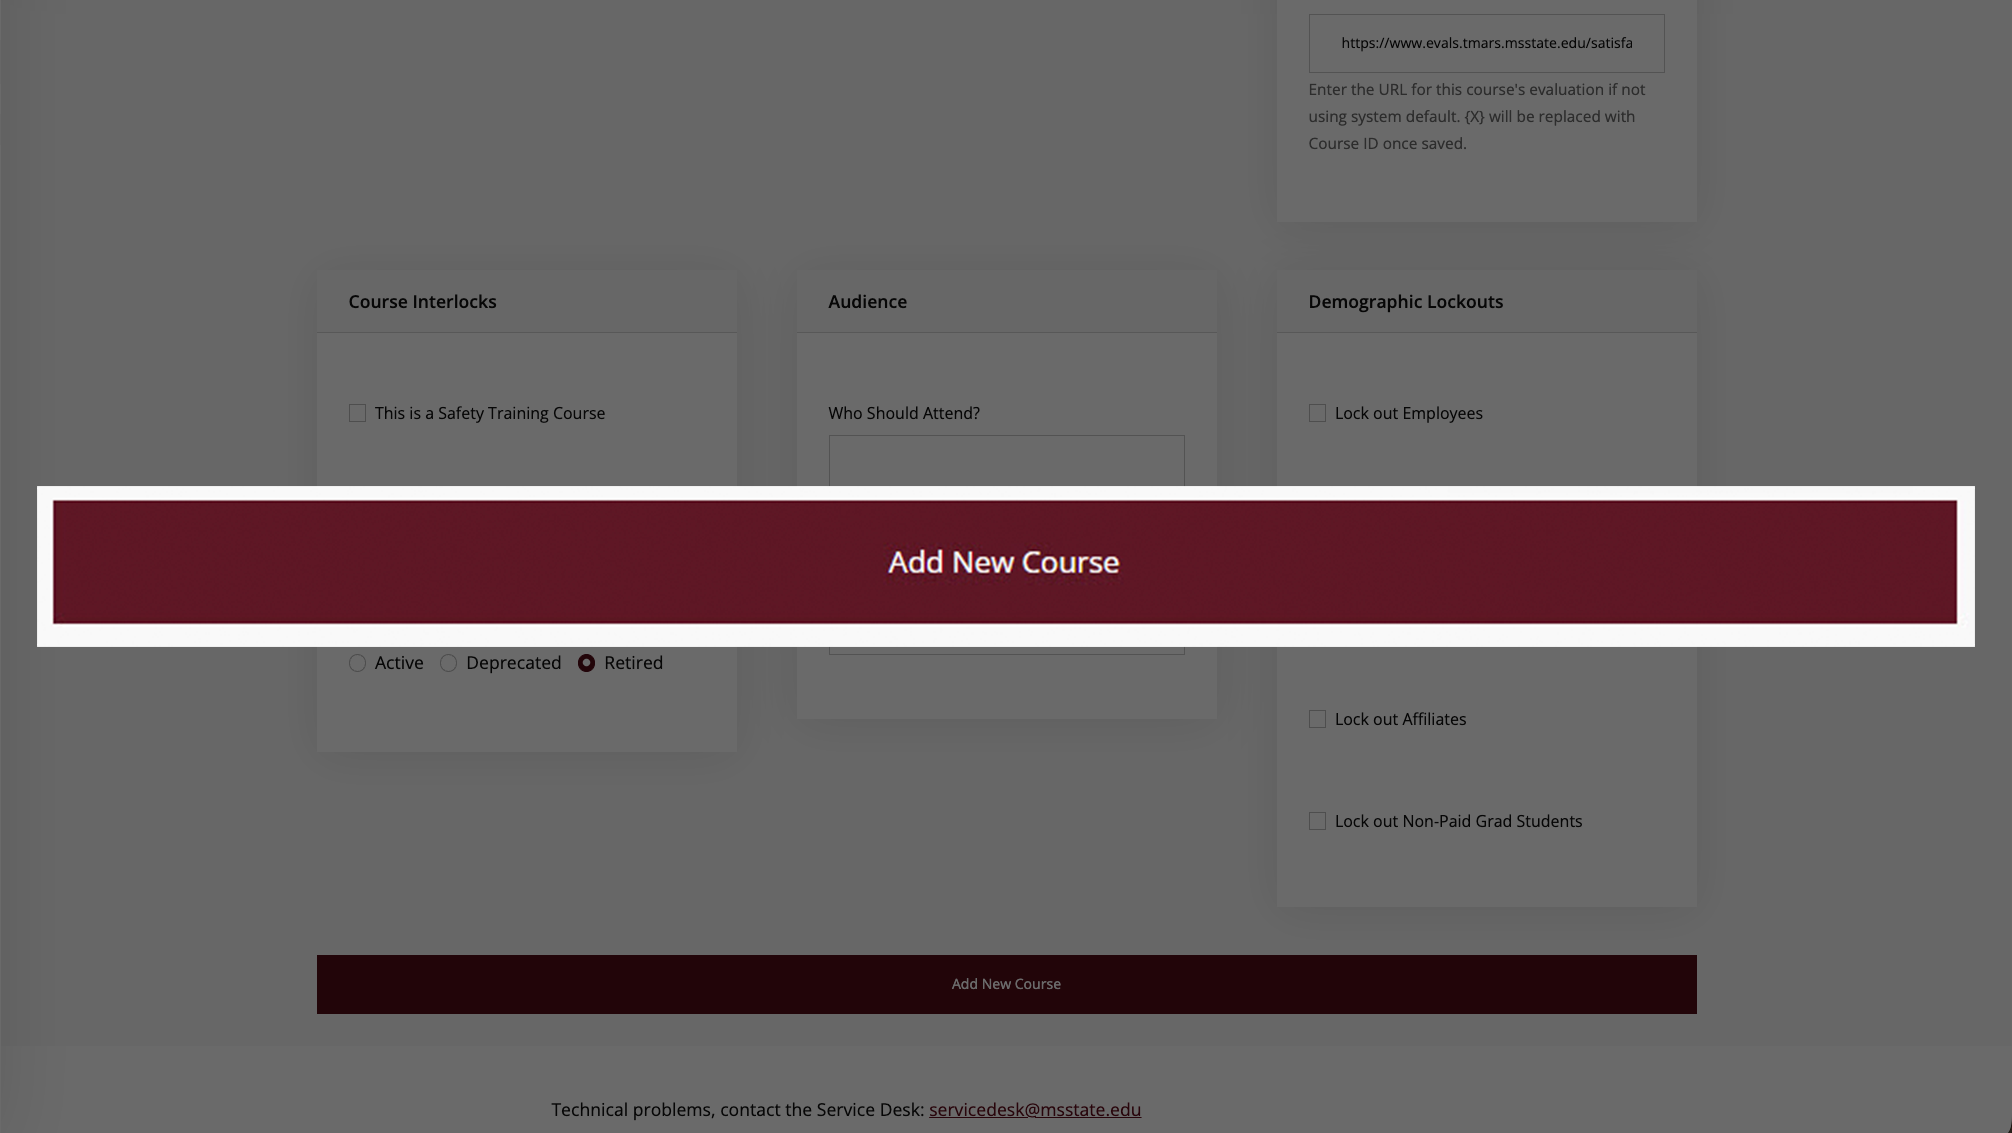
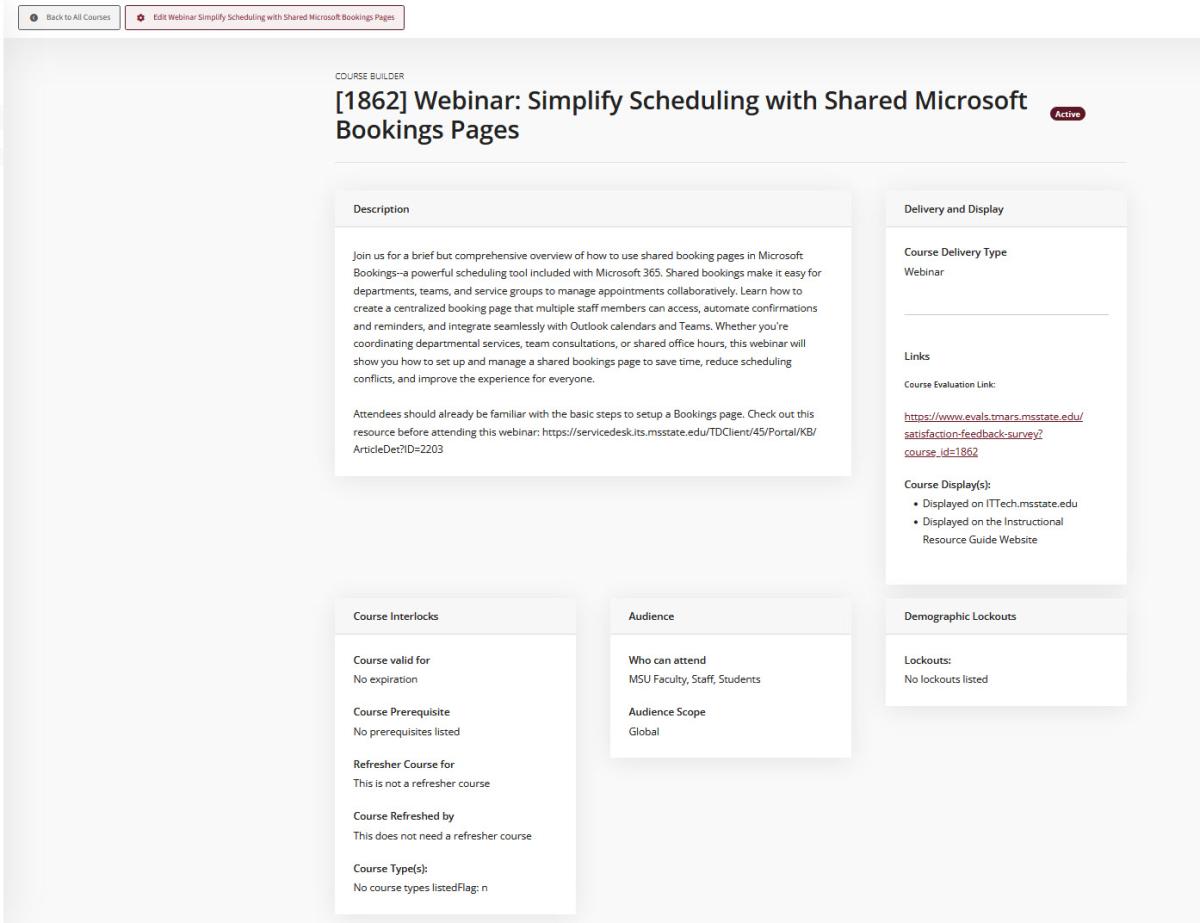
A course is a training catalog template that defines the curriculum, requirements, and settings for a type of training. Once you create a course, you can schedule it multiple times as different class sessions with specific dates, times, and locations.

Course vs Class: What's the Difference?

Course Class
The curriculum template A scheduled instance
Defines what will be taught 
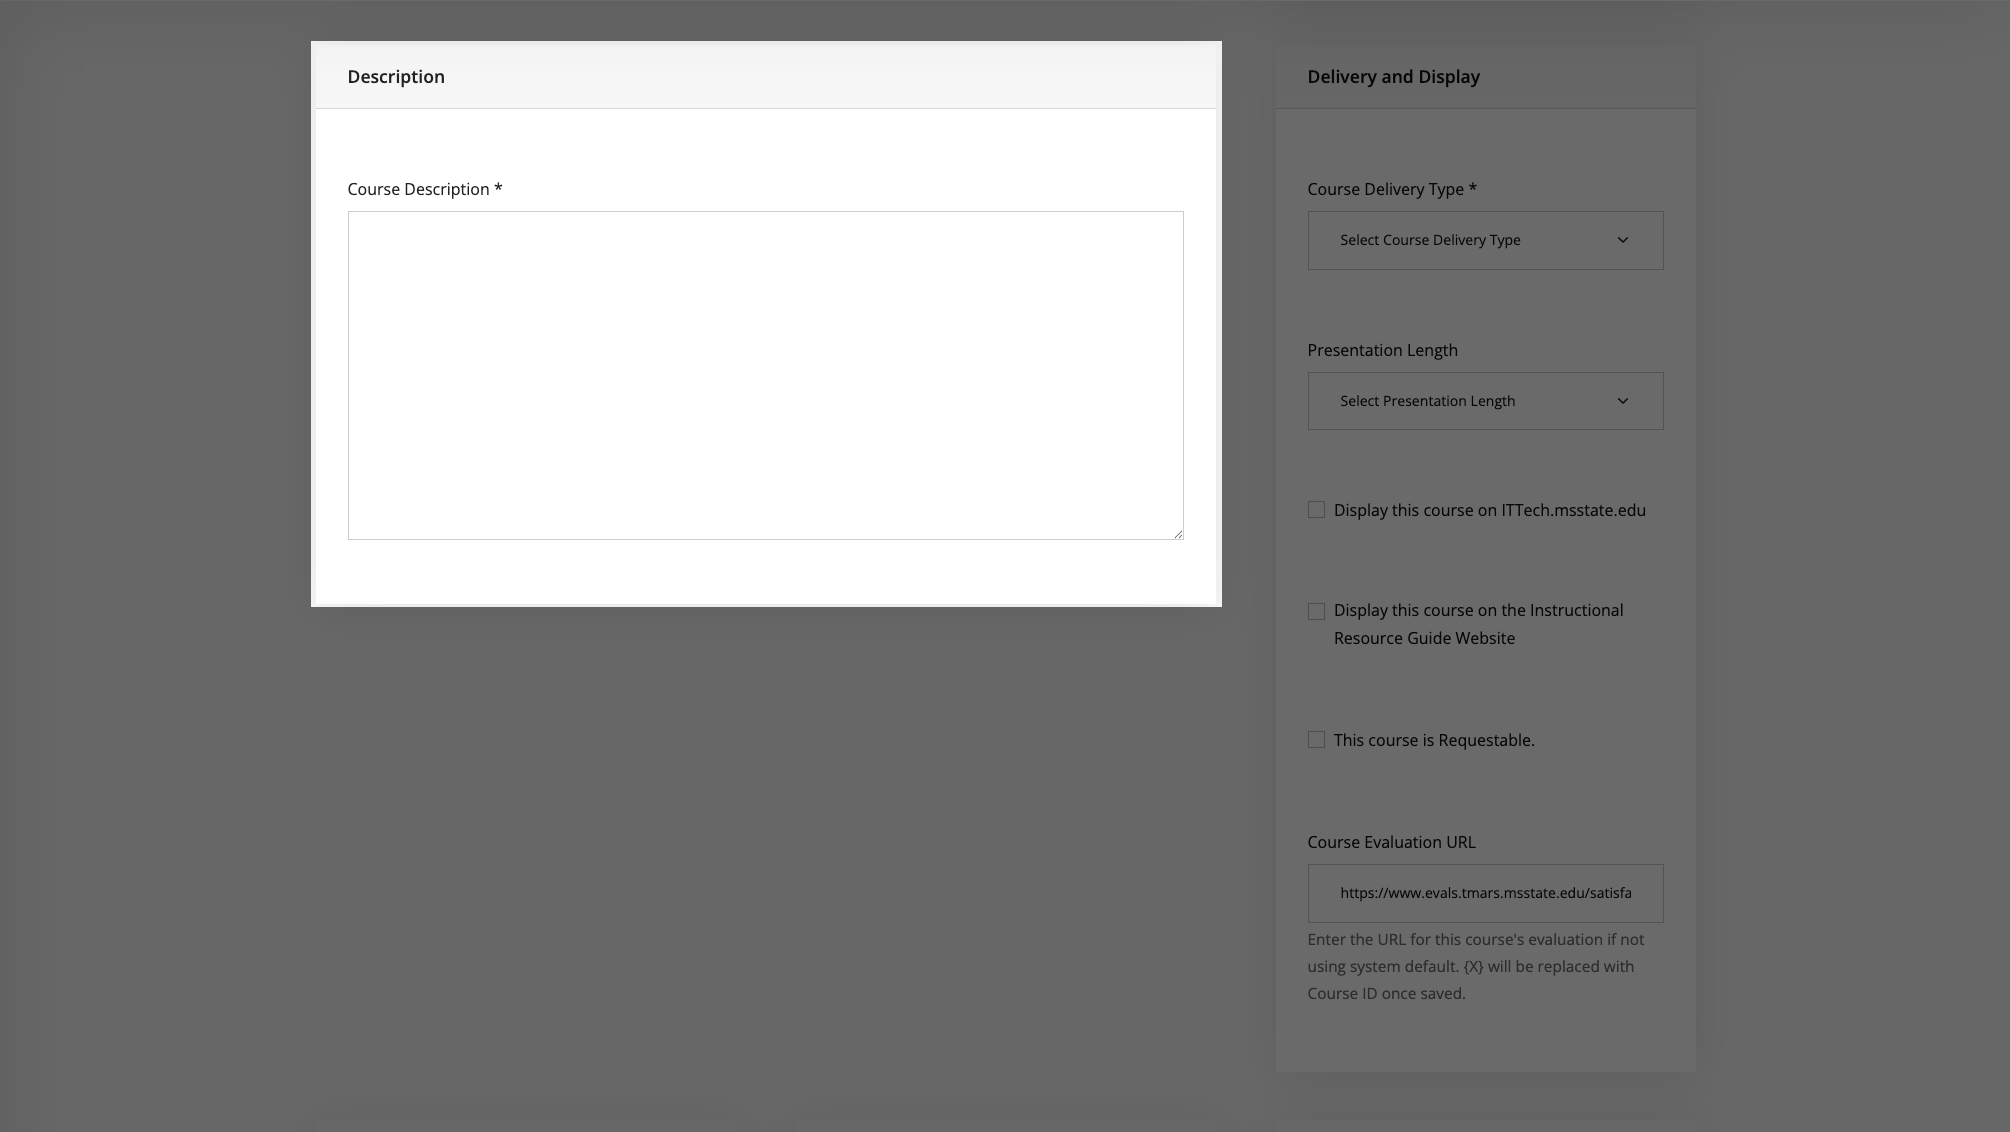
Defines when and where it's taught
Created once, used many times Created for each specific session
Example: "Database Fundamentals" Example: "Database Fundamentals on Jan 15, 2:00 PM in Room 301"
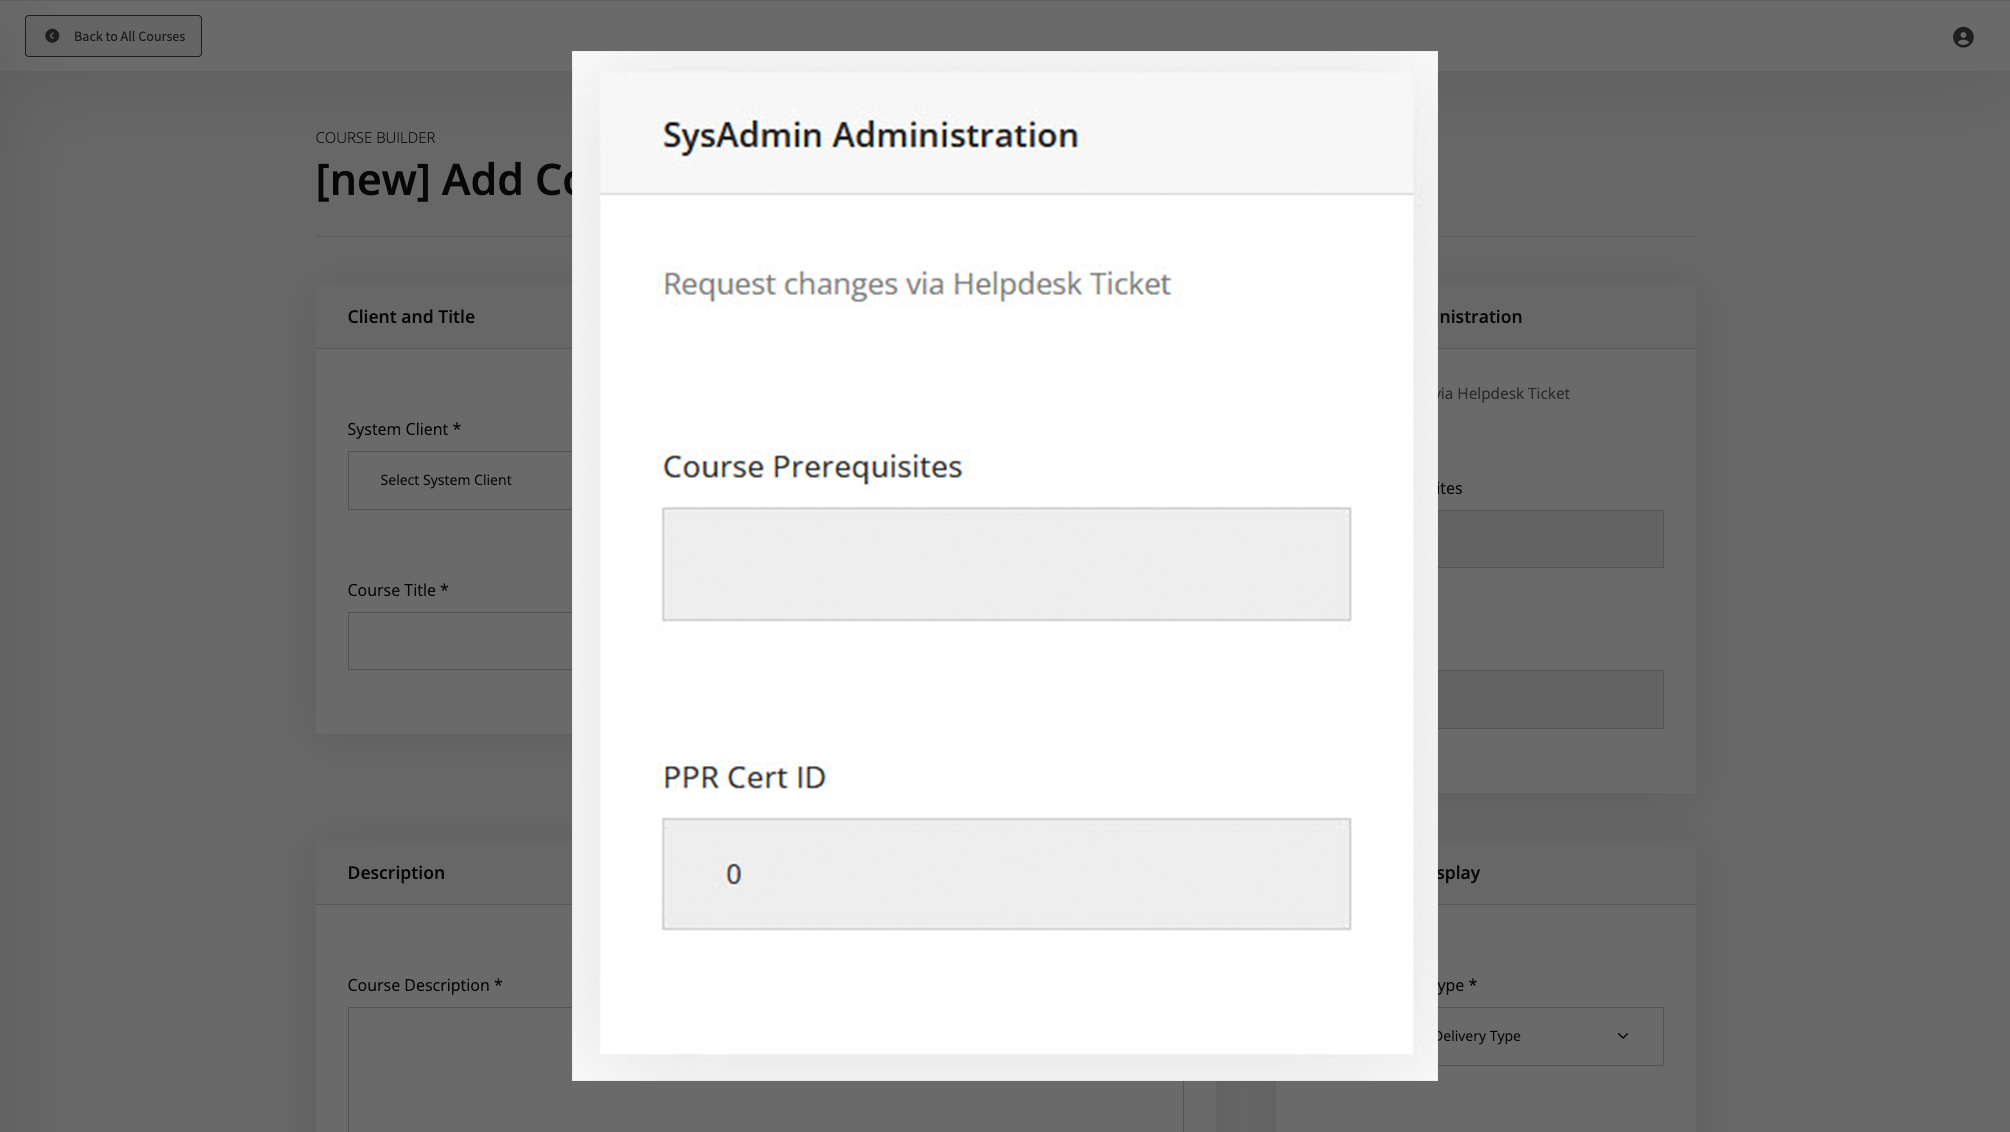
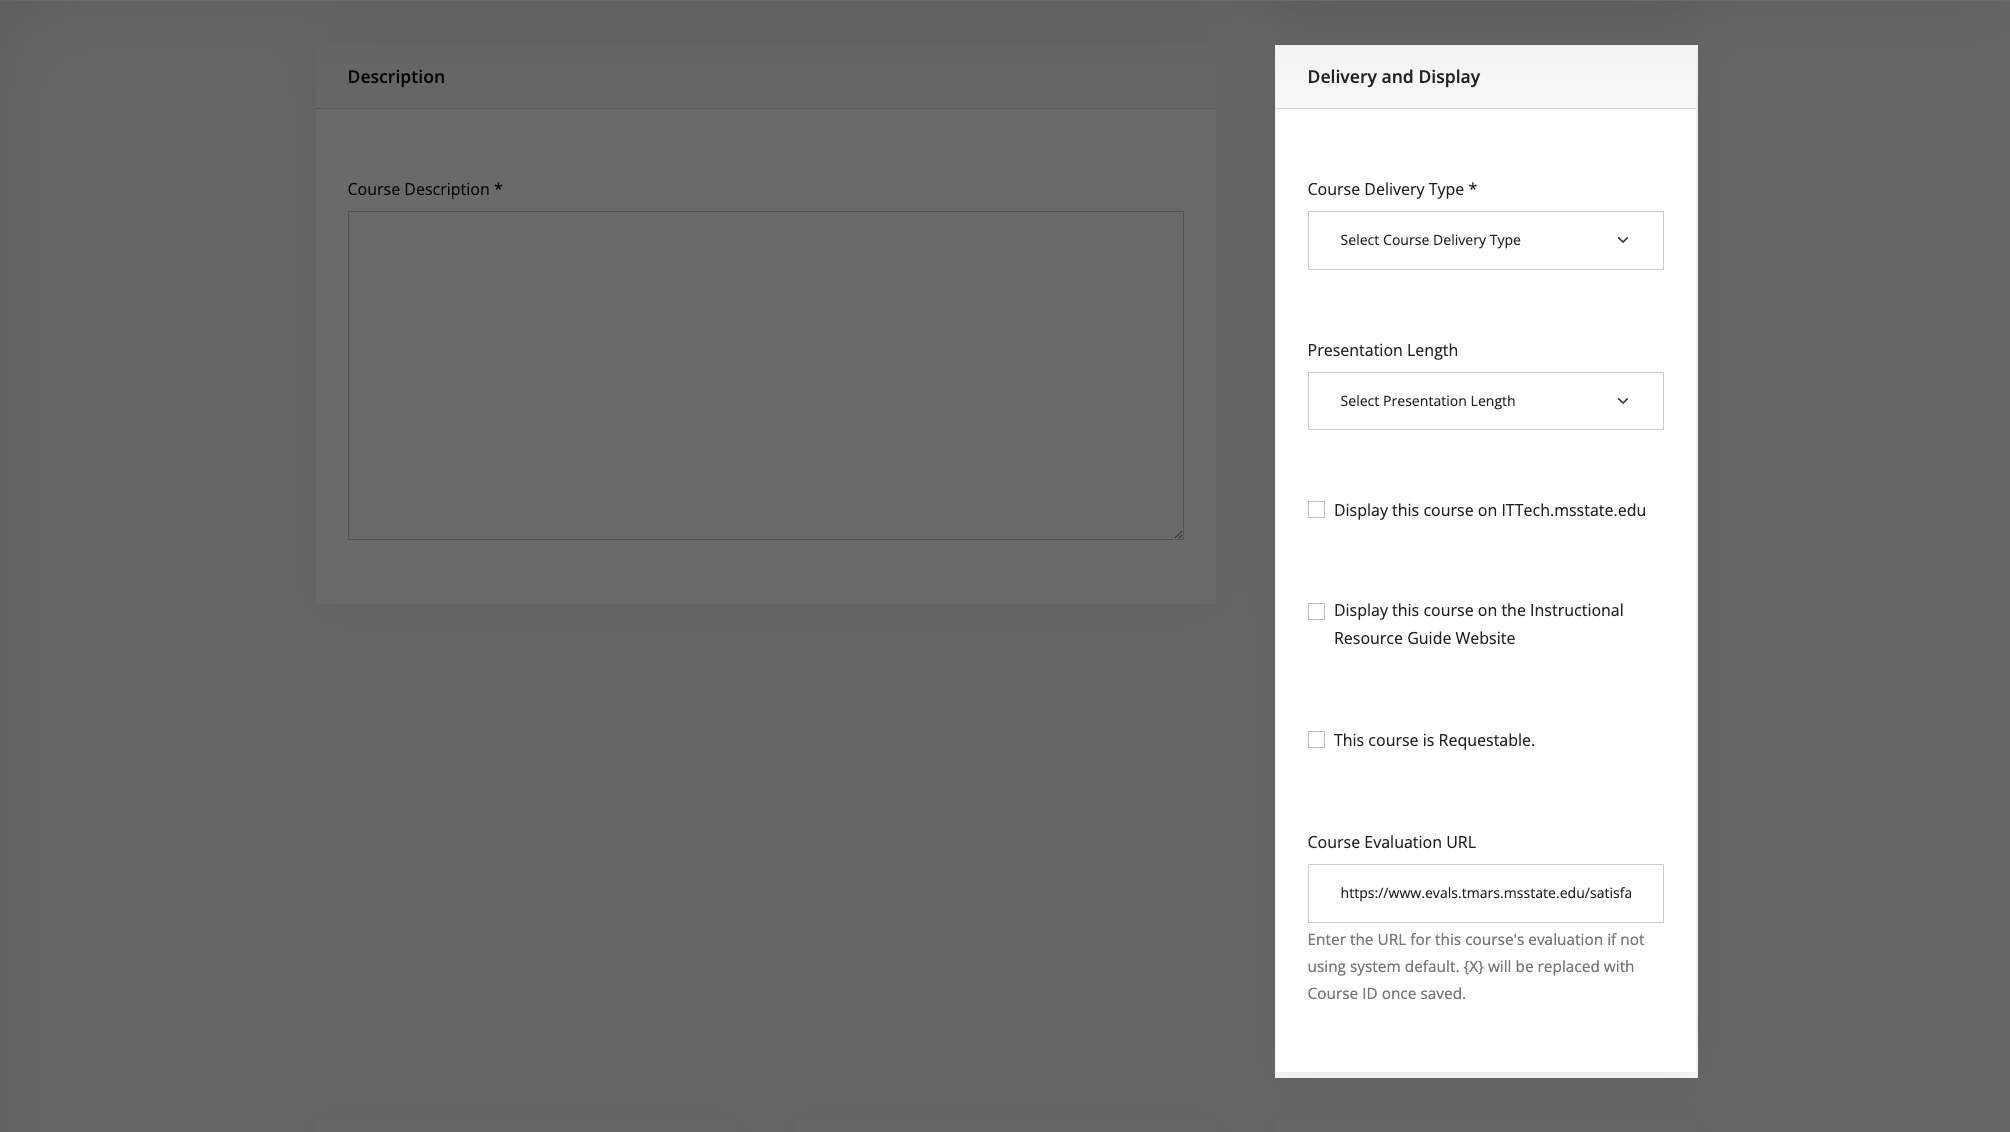
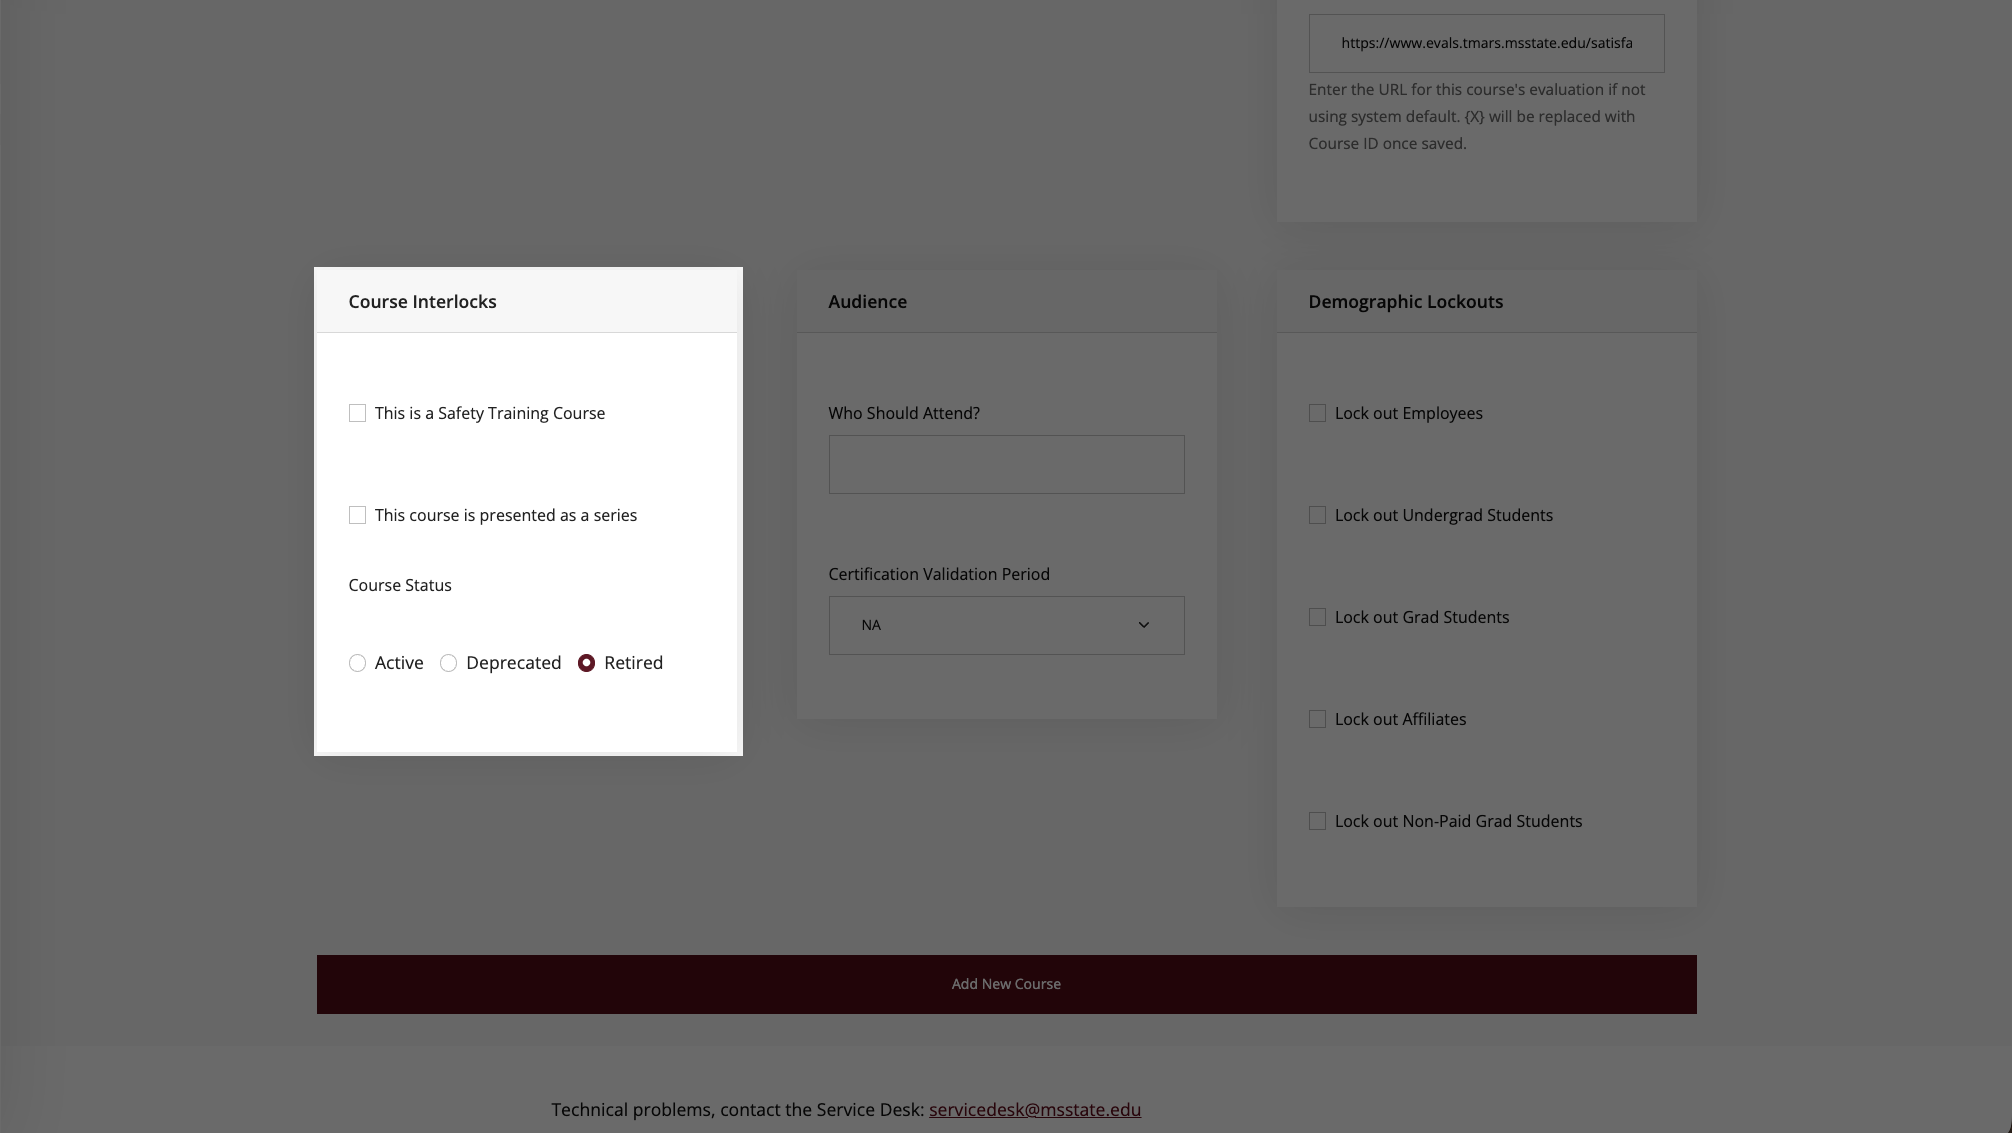
Has description, prerequisites, certification info Has date, time, instructor, location, enrollment

Viewing All Courses

To view all courses in your client:

  1. Navigate to Course Management → Courses in the sidebar menu
  2. You'll see the All Courses page with a searchable table
  3. Controls at the top of the page allow you to change the number of entries displayed and search for specific titles, clients, etc.
    1. Entries per page – Change the number of entries that display on the page (10 (default), 25, 50, 100)
    2. Search - Use to quickly find courses across all columns 

Understanding the Courses Table

The courses table displays:

  1. Actions - View and Edit buttons for each course
  2. Course ID - Unique identifier assigned by the system
  3. Course Title - The name of the course
  4. Lockouts - Any demographic restrictions (if applicable)
  5. Client - Which organizational client owns this course
  6. Audience - Target audience (Global or specific groups)
  7. Prerequisites - Required prior courses (NA if none)
  8. Status - Active, Inactive, or Deprecated
All Courses

Sorting the Courses Table

Sort Button


To sort the table by a specific column, click the column header sort button:

  1. To sort in ascending order, click the TOP of the button.
  2. To sort in descending order, click the BOTTOM of the button.
Columns with sort buttons

Creating a New Course

Add a new course button


To create a new course:

  1. Navigate to Course Management → Courses
  2. Click the Add New button at the top of the page
  3. Complete all required fields across the seven sections
  4. Click Add New Course at the bottom to save

Editing Courses

Viewing a Course

view course row


To view course details without editing:

  1. Navigate to Course Management → Courses
  2. Locate the course in the table using Search if needed.
  3. Click the View button in the Actions column

Editing a Course


Update course button


To edit an existing course while viewing the course details:

  1. Click the Edit [course name] button at the top of the page.
  2. Make changes to any of the seven sections.
  3. Click the Update Course button at the bottom to save all changes.


view course row


To edit an existing course from the course table:

  1. Navigate to Course Management → Courses.
  2. Locate the course in the table using Search if needed.
  3. Click the Edit button in the Actions column.
  4. Make changes to any of the seven sections.
  5. Click Update Course at the bottom to save all changes.

Tip: if needed, click the Reset button to return to the prior settings before saving new changes.

Page view of a course